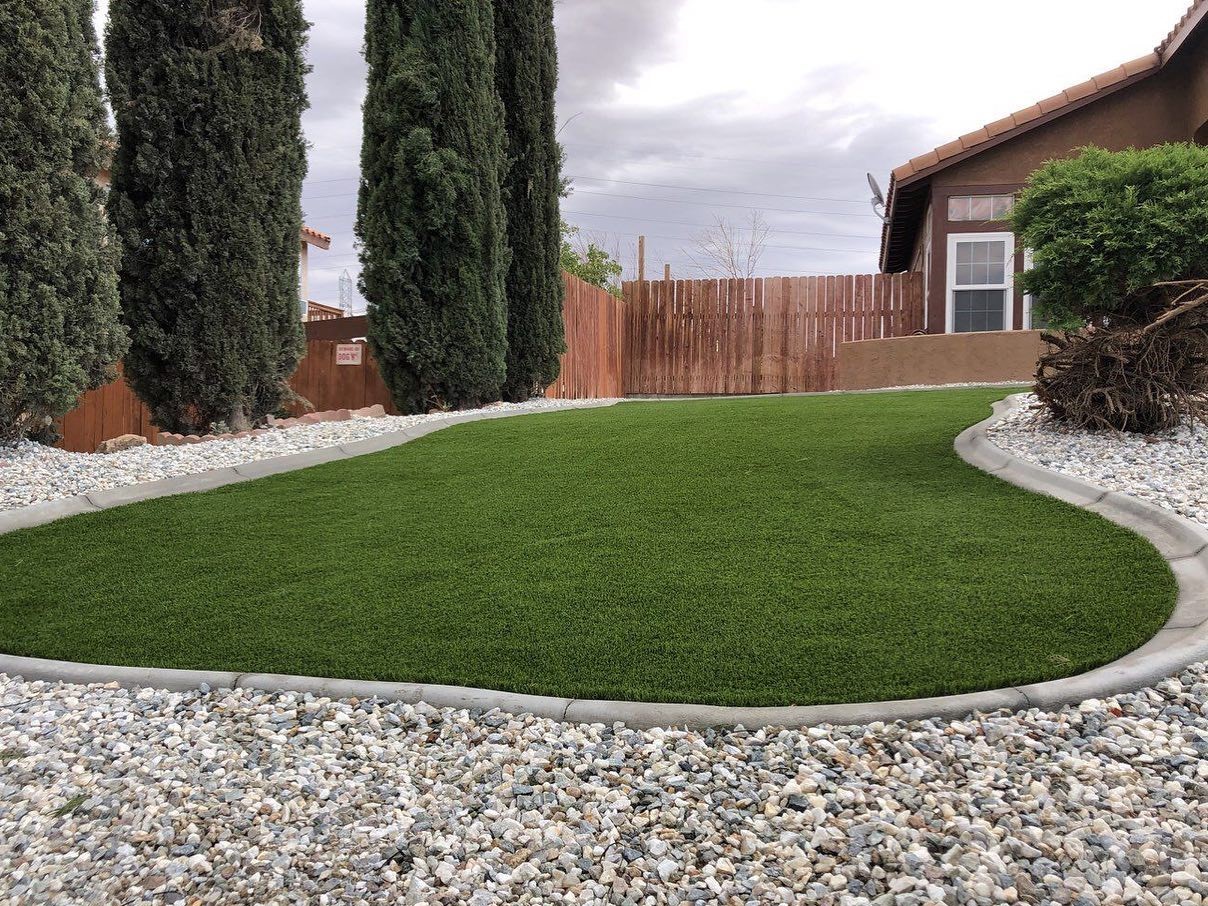

Concrete surfaces, whether patios, driveways, or rooftops, can be transformed into vibrant, green spaces with the installation of artificial grass. This modern solution offers the beauty of a lush lawn without the need for soil, making it perfect for urban environments or areas where natural grass struggles to thrive. In this guide, we’ll walk you through the step-by-step process of how to install artificial grass on concrete, ensuring a beautiful and long-lasting result.
Why Install Artificial Grass on Concrete?
Before diving into the installation process, it's important to understand the benefits of installing artificial grass on concrete surfaces. This approach is ideal for areas where natural grass wouldn't normally grow, providing an aesthetic upgrade to otherwise dull and hard spaces. Here are some reasons why installing artificial grass on concrete is a great idea:
Aesthetic Appeal
Artificial grass adds a touch of nature to urban and industrial settings, softening hard concrete surfaces and creating a more inviting environment.
Comfort
Artificial grass provides a cushioned surface that is softer underfoot than concrete, making it more comfortable for walking, playing, or lounging.
Low Maintenance
Unlike natural grass, artificial grass requires minimal upkeep, saving you time and effort.
Durability
Designed to withstand heavy foot traffic and extreme weather conditions, artificial grass maintains its appearance and functionality for years.
Step 1: Preparing the Concrete Surface
Clean the Concrete
The first step in installing artificial grass on concrete is to prepare the surface. Start by thoroughly cleaning the concrete area where the artificial grass will be installed. Sweep away any dirt, dust, and debris. If there are any stains or oil spots, use a concrete cleaner or degreaser to remove them. A clean surface ensures better adhesion and a smoother installation process.
Repair Any Damage
Inspect the concrete for any cracks, chips, or uneven areas. Small cracks can be filled with concrete patching compound, while larger ones may require more extensive repair. Uneven surfaces should be leveled to prevent the artificial grass from lying unevenly or developing bumps. Taking the time to repair any damage will result in a better-looking and more durable installation.
Ensure Proper Drainage
One of the most important considerations when installing artificial grass on concrete is drainage. If water pools on the concrete surface, it can lead to mold and mildew under the artificial grass. Check that the concrete has a slight slope to allow water to drain away naturally. If not, you may need to create drainage channels or install a drainage system to ensure water doesn’t collect under the grass.
Step 2: Choosing the Right Artificial Grass
Select High-Quality Grass
When choosing artificial grass for installation on concrete, it's essential to select a high-quality product that can withstand the specific conditions of your environment. Look for grass with a durable backing and UV resistance to ensure it holds up well under direct sunlight and heavy use. The pile height (the length of the grass blades) is also a factor; shorter piles may be better for high-traffic areas, while longer piles offer a more luxurious appearance.
Consider Cushioning and Drainage Layers
For added comfort and improved drainage, consider using a cushioning layer beneath the artificial grass. Foam underlays or shock pads are popular choices that provide a soft, cushioned surface. Additionally, these layers can help improve drainage by allowing water to flow through the grass and away from the surface. Ensure that the underlay is permeable to prevent water from being trapped underneath the grass.
Step 3: Measuring and Cutting the Artificial Grass
Measure the Area
Accurate measurement is key to a successful installation. Measure the dimensions of the concrete surface to determine how much artificial grass you will need. It’s always a good idea to order a little more than necessary to account for any mistakes or irregular cuts. Mark out the area on the back of the artificial grass with a marker, ensuring you allow for any seams if the area is wider than the roll of grass.
Cut the Grass to Fit
Once the artificial grass is cut to size, it’s time to lay it out over the concrete surface. Start by positioning the grass in place, making sure the edges align with the perimeter of the area. If you’re covering a large area that requires more than one piece of grass, lay the pieces side by side, ensuring the blades are all facing the same direction for a uniform appearance.
Step 4: Laying and Securing the Artificial Grass
Lay Out the Grass
Carefully press the grass onto the adhesive, starting from one end and working your way to the other. Use a roller or a heavy object to press the grass firmly into the adhesive, ensuring good contact and eliminating any air bubbles. Smooth out the grass as you go to avoid wrinkles or bumps.
Allow the Grass to Settle
Artificial grass, especially when it's been rolled up for a while, may need some time to settle and lay flat. Allow the grass to sit on the concrete for a few hours or overnight before securing it. This step helps to remove any creases or folds, ensuring a smoother installation.
Apply Adhesive
To secure the artificial grass to the concrete, use a strong outdoor adhesive. Start by folding back the edges of the grass and applying adhesive to the concrete surface along the perimeter. You can also apply adhesive in a grid pattern across the rest of the area for added stability. Make sure to follow the manufacturer’s instructions regarding drying times and application techniques.
Press and Smooth the Grass
Once the grass is securely in place, use a utility knife to trim any excess material along the edges. Follow the contours of the area closely for a clean and polished finish. Be sure to take your time during this step to achieve the best possible appearance.
Secure the Edges
In addition to adhesive, securing the edges of the artificial grass is crucial for a neat and long-lasting installation. Use landscape spikes, turf nails, or additional adhesive to fasten the edges of the grass firmly to the concrete. This step prevents the edges from lifting over time, especially in high-traffic areas.
Step 5: Adding the Finishing Touches
Trim the Edges
Once the grass is securely in place, use a utility knife to trim any excess material along the edges. Follow the contours of the area closely for a clean and polished finish. Be sure to take your time during this step to achieve the best possible appearance.
Brush the Grass
After trimming, use a stiff-bristled broom or a power brush to fluff up the grass fibers. Brushing the grass helps the blades stand upright and restores their natural appearance. This step is especially important if the grass has been flattened during the installation process.
Apply Infill Material
For installations on concrete, infill material is optional but recommended. Infill provides additional weight to keep the grass in place and enhances the feel underfoot. Silica sand is a common infill material that also helps with drainage. Spread the infill evenly across the surface using a drop spreader, then brush it into the grass fibers for a natural look.
Step 6: Maintenance and Care
Regular Cleaning
One of the benefits of artificial grass is its low maintenance requirements. However, regular cleaning is necessary to keep it looking its best. Sweep the grass regularly to remove debris such as leaves or dirt. For more thorough cleaning, you can rinse the grass with water using a garden hose.
Addressing Spills and Stains
Artificial grass on concrete is resistant to most stains, but it’s still a good idea to clean up any spills promptly. Use a mild detergent and water to clean the affected area, then rinse thoroughly. Avoid using harsh chemicals that could damage the grass fibers or backing.
Brushing and Fluffing
To keep the grass blades standing upright and looking natural, brush the grass regularly with a stiff broom. This is especially important in high-traffic areas where the grass may become flattened over time. Brushing also helps to redistribute infill material and maintain an even surface.
Inspecting for Wear and Tear
Periodically inspect your artificial grass for any signs of wear and tear, particularly along the edges and seams. If you notice any lifting or damage, address it promptly by reapplying adhesive or securing the area with additional nails or spikes. Regular maintenance will extend the life of your artificial grass and keep it looking fresh for years.
Common Mistakes to Avoid
Neglecting Proper Surface Preparation
Failing to properly prepare the concrete surface can lead to issues with drainage, adhesion, and the overall appearance of the artificial grass. Always start with a clean, repaired, and level surface to ensure the best results.
Using the Wrong Adhesive
Not all adhesives are suitable for outdoor use or for bonding artificial grass to concrete. Be sure to choose a strong, weather-resistant adhesive designed for this purpose to ensure a secure and long-lasting installation.
Skipping the Cushion Layer
While not always necessary, skipping the cushioning layer can result in a harder surface that’s less comfortable to walk on. Consider adding a foam underlay or shock pad for added comfort and improved drainage.
Poor Alignment of Grass Seams
If you’re joining multiple pieces of artificial grass, ensure that the seams are aligned properly and the grass blades are facing the same direction. Misaligned seams can create a visible line, detracting from the natural look of the lawn.
Final Tips for a Successful Installation
Take Your Time
Installing artificial grass on concrete requires patience and attention to detail. Rushing through any of the steps can lead to problems down the line, so it's important to work methodically and carefully.
Plan for Drainage
Proper drainage is crucial to prevent water accumulation under your artificial grass, which can cause mold, mildew, and other issues. Always ensure that your concrete surface allows for water to drain away efficiently.
Use High-Quality Materials
From the artificial grass itself to the adhesive and infill, investing in high-quality materials will pay off in the long run with a more durable, attractive, and functional lawn.
Regular Maintenance
Even though artificial grass is low-maintenance, it still requires regular care to keep it looking its best. Regular brushing, cleaning, and inspecting will help maintain the grass's appearance and extend its lifespan.
With the right preparation and technique, your artificial grass installation on concrete will provide a beautiful, functional, and long-lasting outdoor space that you can enjoy for years to come.


